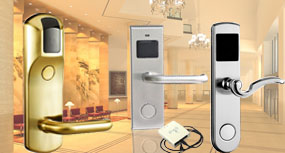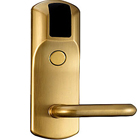
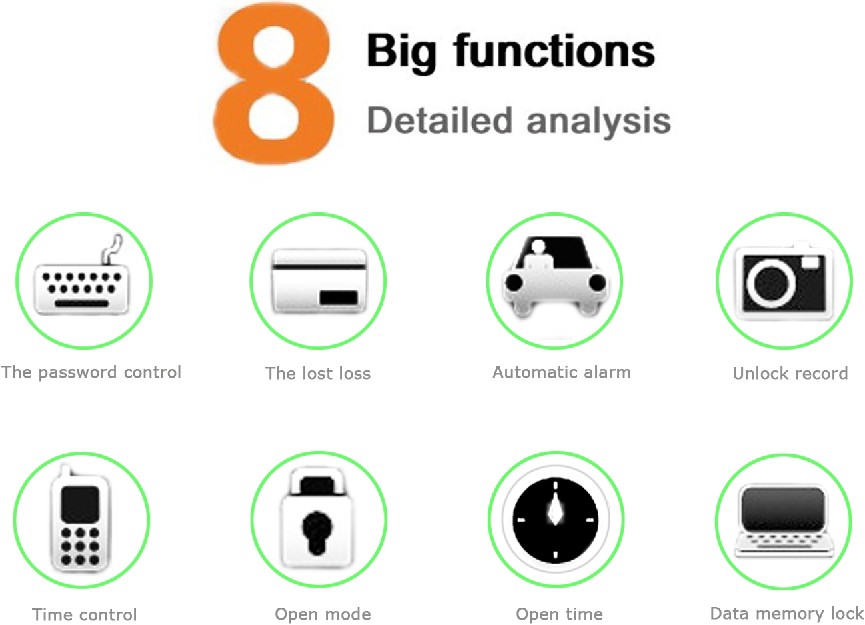
Open intelgent life your smart Hotel Card Lock
Aesthetic apperance design, durable & practical
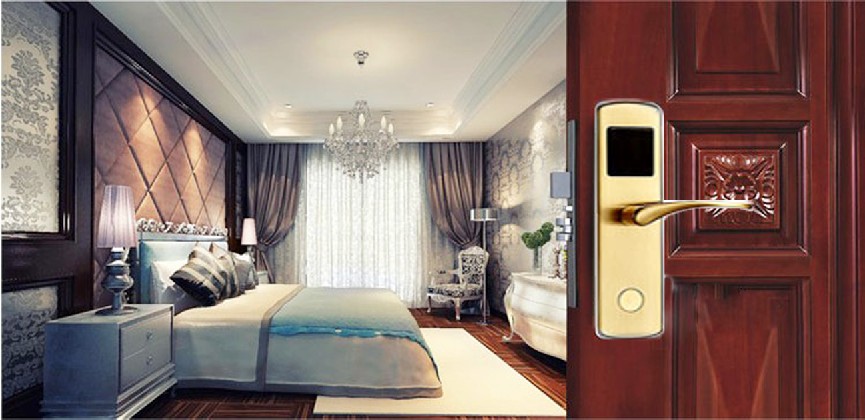
* Powered by 4 pcs AA battery for 10-12 months' life. * 40mm-50mm thickness door.
* Low consume,high sensitive 'epordo' RFID Technology PCB board. * 5 latch mortise model-K1L.
* RFID Mifare 1K technology,100000 times life,contactless working. * Free-engage while locking.
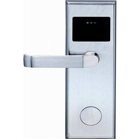
* Brass polish plus transparent finish.
* Low consume,high sensitive 'epordo' RFID Technology PCB board. * 5 latch mortise model-K1L.
* RFID Mifare 1K technology,100000 times life,contactless working. * Free-engage while locking.
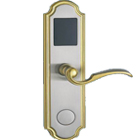
* Brass polish plus transparent finish.
Lock management software application interface
It will definitely let you fondle admiringly
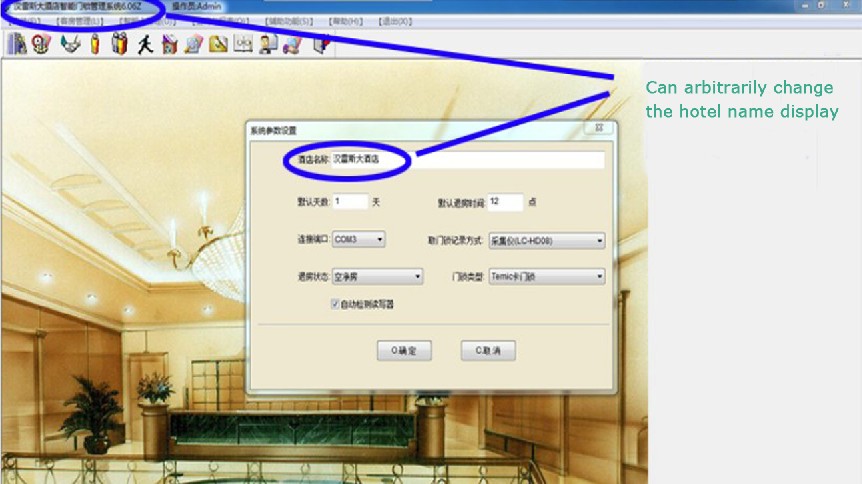
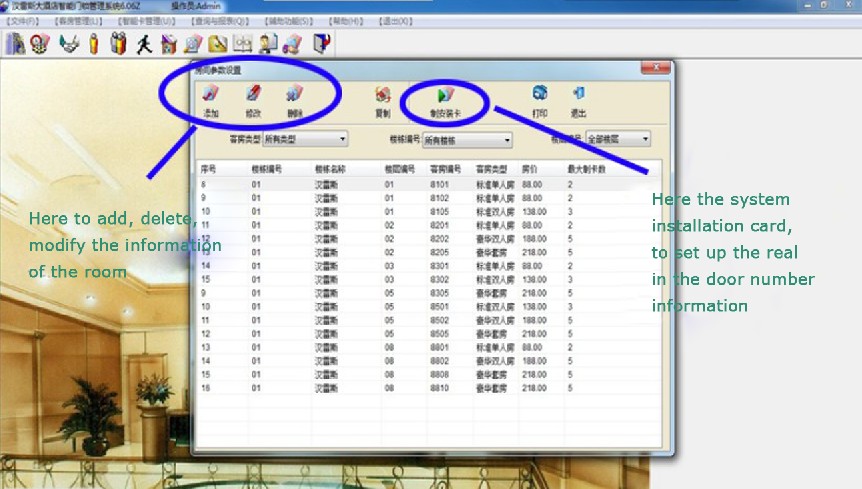
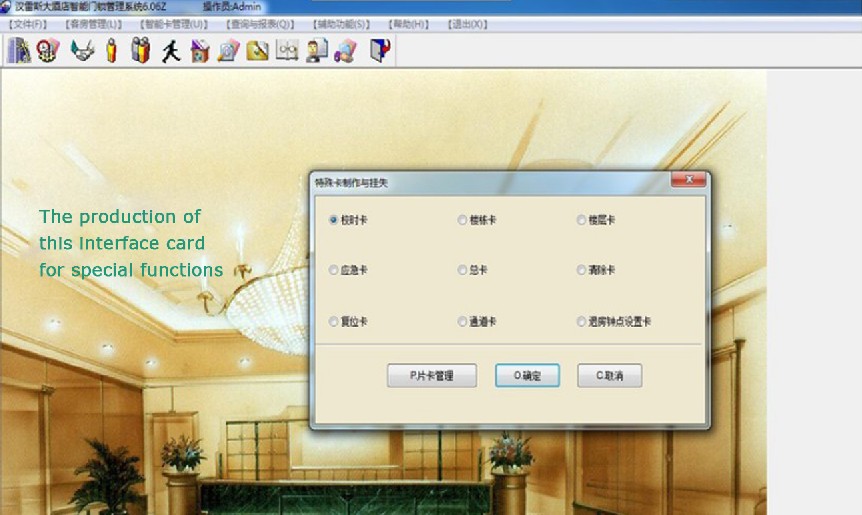
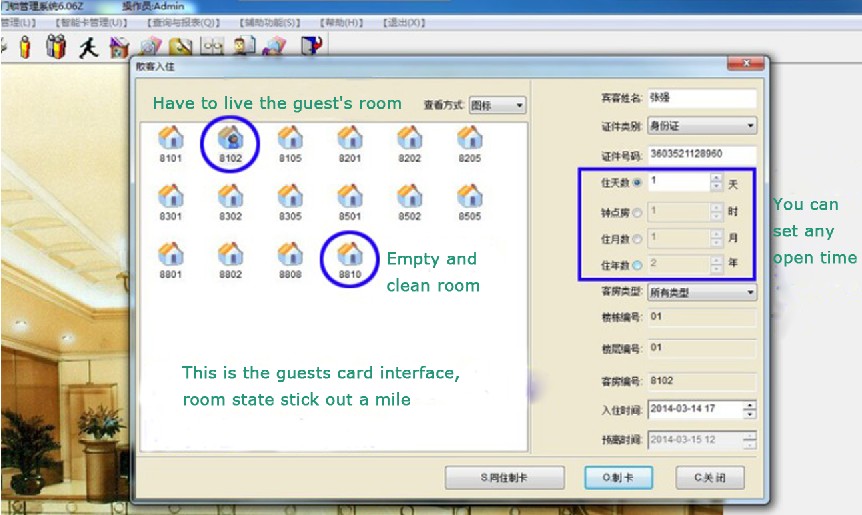
* Low Battery Voltage warning(beep and red light). * Passage mode for meeting case.
* Epordo Hotel lock system(free) required. * Lock&System operation record printable.
* Epordo Hotel lock system(free) required. * Lock&System operation record printable.
Teach you how to choose the direction of the door lock
In four ways, easy to master
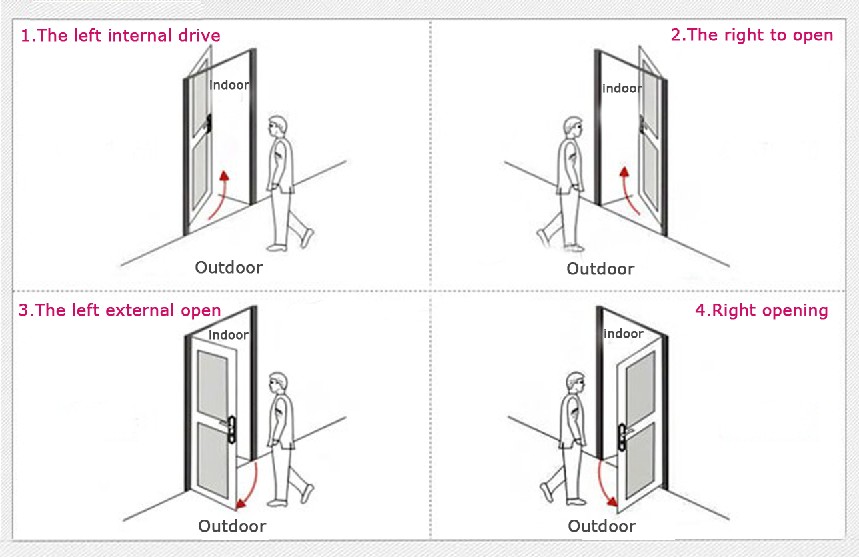
Installation sketch map of door lock
Detailed steps for you to master the installation method
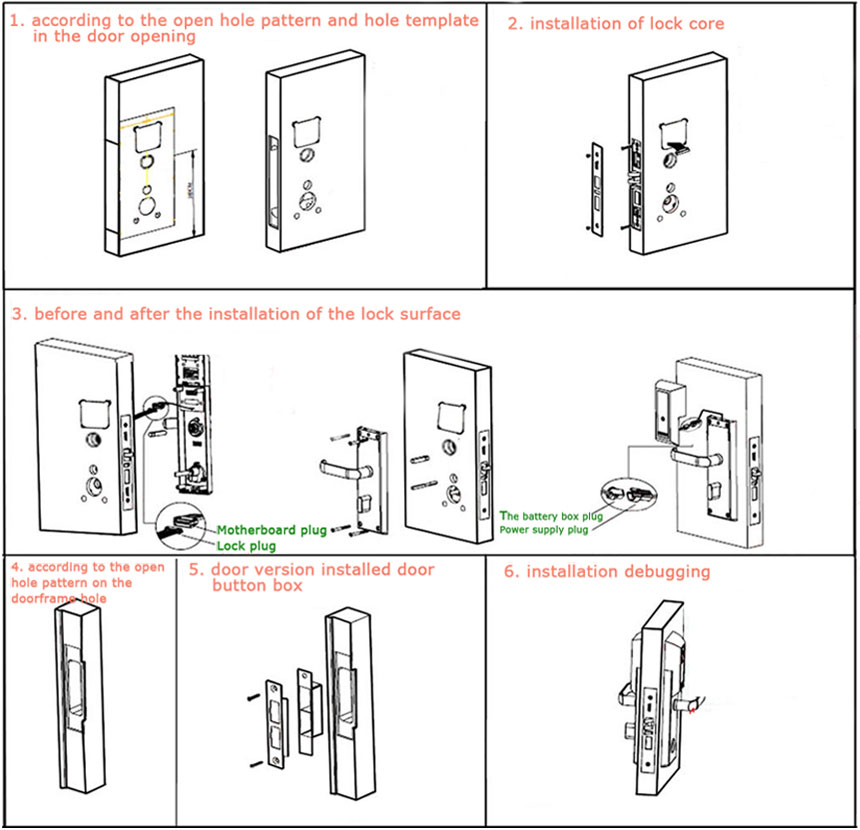
1.according to the open hole pattern and hole template in the door opening
Opening method:
(1) to determine the reference line in the door right height;
(2)with the corresponding template on the door open hole contraposition marking;
(3)with the corresponding tool hole.
2.installation of lock core
Step:
(1) the lock core is arranged in the opening of the entry side, use the two screws and the lock body is fixed;
(2) mounted on a stainless steel side strip, with three flat head screws.
3.before and after the installation of the lock surface
Step:
(1) connect the corresponding plug into the generous shaft, first will lock the noodles into the door side (note the square shaft at the contact free member arrow facing the lock tongue put to install generous axis);
(2)in the door into the generous shaft and the small shaft, and then the front panel and the rear panel fixed long screw;
(3)connect the battery box outlet corresponding joint and the line outlet, use a Phillips screwdriver to the battery box is fixed on the rear lock on the surface.
4.according to the open hole pattern on the doorframe hole
5.door version installed door button box
6.installation debugging
(1)note that each component check whether it has been fixed;
(2)standing outside the door, look to whether can open and close the door;
(3)with mechanical keys on the open, to see whether smooth key twist;
(4)open the door to see whether it is normal for engineering card.
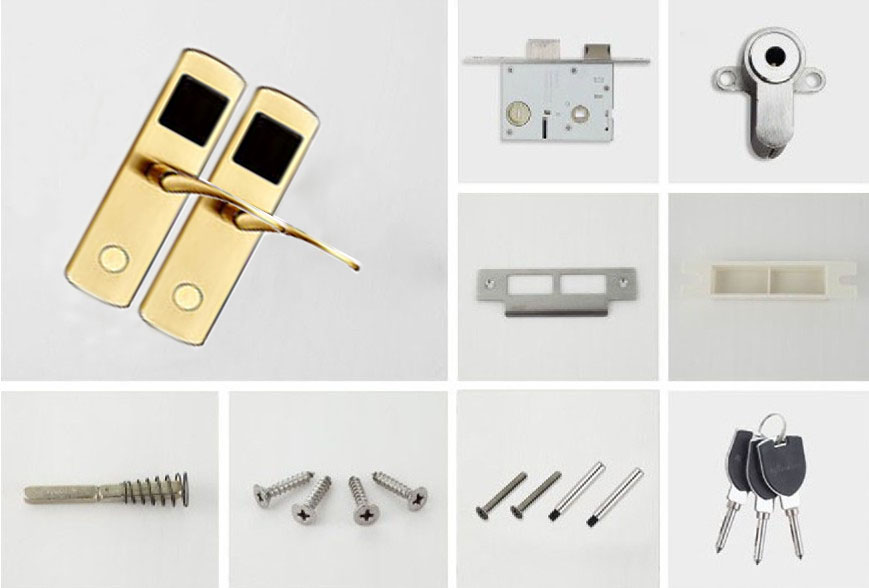
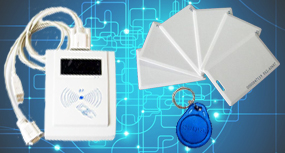
M9108 Hotel Card Lock with complete accessories
Allows you to buy the rest assured, with the happy
